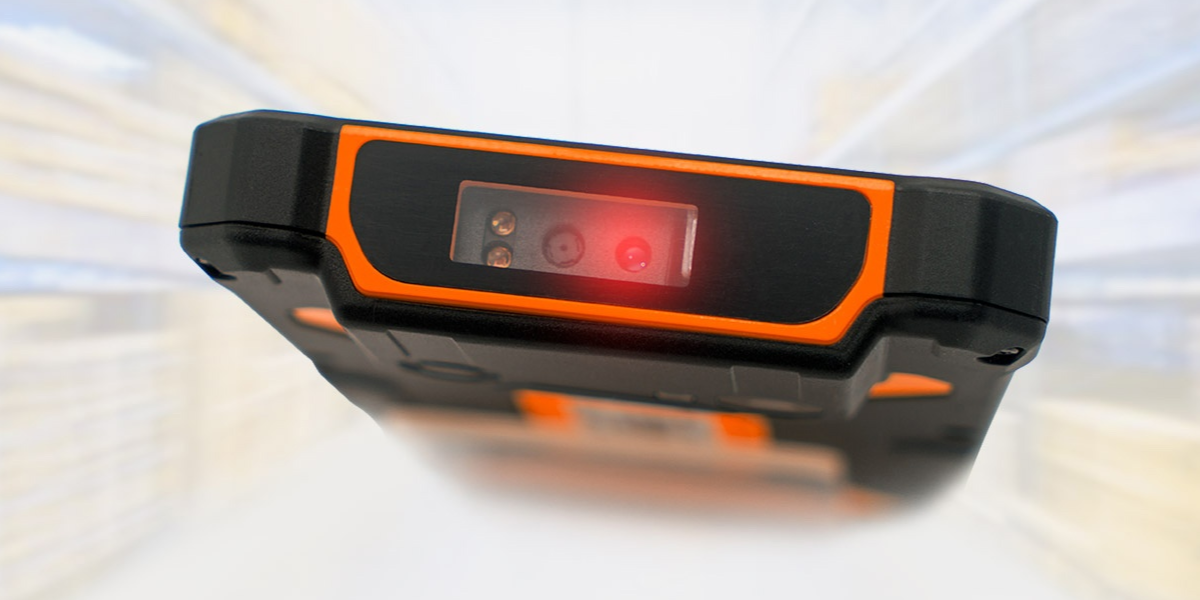
Senter has a wide range of industrial grade tablets and PDAs. These can be fitted with a laser-based barcode reader, to allow rapid and accurate data entry, backed by the power of the Android operating system.
In this article we will look at how to setup a Senter PDA to take an inventory count, and download the result at the end.
Checklist
For this process you will need:
- An Senter PDA (Model ST908 or S917)
- A PC or Laptop
- An internet connection

Step 1: Prepare the device
- On the PDA, download and install Stock Count (Inventory Scanner) by Sterling Tulus Cemerlang, PT (Sterling Team) from play store using this link.
- Open the barcode scan helper app on your Senter device and configure the following settings:
- Check off Continuous scan.
- Set End Mark to
- Set Output Mode to Keyboard Input.
Step 2: Prepare the Master data file
- Download the Master data template here.
- Open the file with Microsoft Excel.
- If Microsoft Excel launches the Text import wizard, choose Delimited in the first screen, and check comma in the second screen (uncheck everything else). Otherwise skip to 4.
- There are 4 columns with the headers:
- Barcode: Enter your barcode here
- ProductName: Enter your barcode/product description here
- UoM: Unit of Measure is optional. Possible values are: pcs, dz and box
- SellingPrice: Selling price is optional. It is useful in the end report to easily calculate the stock value. If you do not intend to use this feature, set this to 0.
- Complete the file with 1 barcode on each line.
- When you are done, select columns A, B & C. Then click on Format > Cells, choose text in the list of categories, then click ok.
- Then click on File > Save As.
- In the Save As options, choose CSV as the file format, and click save.
- Transfer to file to the Senter device using any method you wish: Email, Bluetooth, USB, etc..
Step 3: Scanning your barcodes
- Open the Stock Count app on your PDA.
- Go to Product Data > Master Product.
- Click on the browse icon & choose the file prepared in step 2.
- Click on Import File.
- Press the back button 2 times and choose Start Counting.
- Complete the 2 fields as follows:
- Inspector: Name of the person performing the stock take.
- Location: The location of the stock. Eg, the store name or city.
- Click Ok.
- If the app opens the camera, close it by clicking on the icon on the top right (Next to the word counting)
- Click on the back button once to hide the keyboard.
- Press the yellow scan button on your PDA to begin.
- Scan all your items the same way till you finish.
- All scans are saved on the device, if you need to continue later, you can close the app. You will find your data in the view results section on the app the next time. You can also take inventory at multiple locations on a single device. Each will be saved in a separate file.
Step 4: Export the results
Finally you can export the file by going to the view result section, choosing the desired file and clicking on the share icon.
Conclusion
Using a Senter PDA for your stock take can drastically reduce the time spent in the process. This article demonstrate a free and easy way to capture inventory data using a rugged device made for such application. As a result, you do not need to invest in any complex or expensive software. A few Senter devices and a computer is all you need.

